DIY Fourth of July Banner: A Step-by-Step Guide to Create a Festive Garland
Related Articles: DIY Fourth of July Banner: A Step-by-Step Guide to Create a Festive Garland
- Fireworks On July 4th Near New York City 2024
- Fourth Of July 5K Cincinnati 2024: A Celebration Of Independence And Fitness
- Facts About 4th Of July History 2024: A Comprehensive Overview
- Fourth Of July 5K Results 2024: A Celebration Of Independence And Athleticism
- Fourth Of July Baseball: A Thrilling Tradition For 2024
Introduction
In this auspicious occasion, we are delighted to delve into the intriguing topic related to DIY Fourth of July Banner: A Step-by-Step Guide to Create a Festive Garland. Let’s weave interesting information and offer fresh perspectives to the readers.
Table of Content
Video about DIY Fourth of July Banner: A Step-by-Step Guide to Create a Festive Garland
DIY Fourth of July Banner: A Step-by-Step Guide to Create a Festive Garland
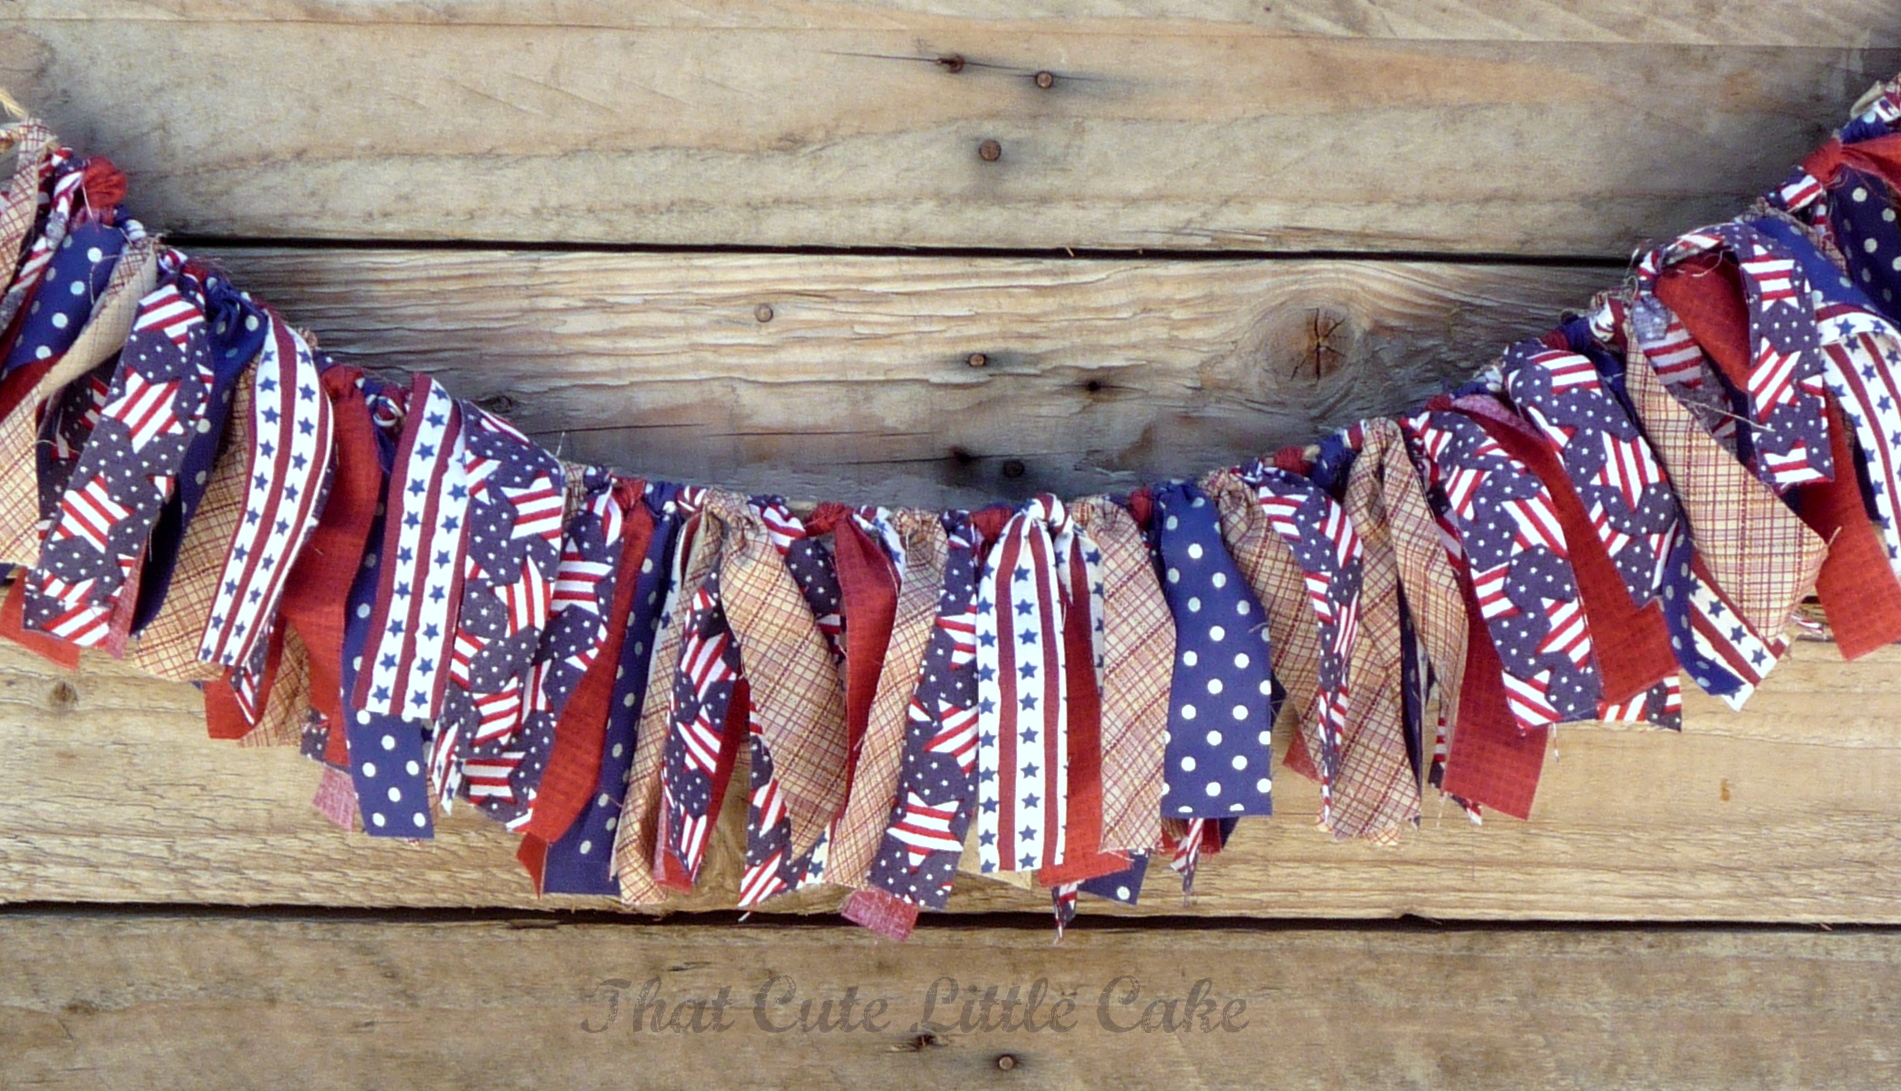
The Fourth of July, a day filled with patriotic fervor and joyous celebrations, is just around the corner. If you’re looking to add some festive flair to your home or outdoor gathering, creating a DIY Fourth of July banner is a fun and easy way to show your American spirit. With a few simple materials and a touch of creativity, you can craft a unique and eye-catching banner that will add a touch of patriotic charm to your Fourth of July festivities.
Materials:
- Red, white, and blue fabric (cotton, linen, or canvas)
- Scissors
- Ruler or measuring tape
- Fabric marker or pen
- String or ribbon
- Iron and ironing board (optional)
Instructions:
Step 1: Cut the Fabric
Begin by cutting your fabric into rectangular pieces. For a standard-sized banner, each rectangle should measure approximately 8 inches wide by 12 inches long. You can adjust the size as desired, but keep in mind that larger rectangles will require more fabric.
Step 2: Design and Draw
Once your fabric pieces are cut, it’s time to design and draw your desired图案. You can opt for classic symbols such as stars, stripes, or American flags, or get creative with your own unique designs. Use a fabric marker or pen to sketch your 图案 onto the fabric.
Step 3: Cut Out the Designs
After drawing your 图案, carefully cut them out using scissors. You can cut out the entire 图案 or just the outlines, depending on your desired effect. If you choose to cut out the outlines, be sure to leave a small border around the edges for stability.
Step 4: Iron the Fabric (Optional)
If desired, you can iron the fabric pieces to remove any wrinkles or creases. This will help give your banner a more polished and professional look.
Step 5: Assemble the Banner
To assemble the banner, lay out the fabric pieces in your desired order. Overlap the edges of each piece by about 1 inch and sew them together using a sewing machine or needle and thread. You can also use fabric glue to attach the pieces if you prefer.
Step 6: Add String or Ribbon
Once the fabric pieces are sewn together, attach a string or ribbon to the top of the banner. This will allow you to hang the banner wherever you wish. You can use a simple knot or thread the string through the fabric to create a more secure attachment.
Step 7: Display Your Banner
Hang your completed Fourth of July banner in a prominent location, such as over a mantel, doorway, or fence. You can also use it to decorate your patio, backyard, or any other outdoor space where you’ll be celebrating.
Tips:
- Use different shades of red, white, and blue fabric to create a more vibrant and dynamic banner.
- Add embellishments such as sequins, glitter, or ribbons to give your banner a touch of sparkle.
- Personalize your banner by adding your own unique designs or messages.
- Make multiple banners in different sizes and designs to create a cohesive and festive atmosphere.
- If you don’t have a sewing machine, you can use fabric glue to attach the fabric pieces together.
- If you’re using fabric glue, be sure to allow ample time for it to dry before hanging the banner.
Conclusion:
Creating a DIY Fourth of July banner is a fun and rewarding way to add a touch of patriotic spirit to your Independence Day celebrations. With a few simple materials and a bit of creativity, you can craft a unique and festive banner that will add a touch of American pride to your home or outdoor gathering. So gather your materials, put on your creative hat, and get ready to celebrate the Fourth of July in style!


:max_bytes(150000):strip_icc()/4thofjulybanner-step1-56a2629d3df78cf77274f152.jpg)


Closure
Thus, we hope this article has provided valuable insights into DIY Fourth of July Banner: A Step-by-Step Guide to Create a Festive Garland. We thank you for taking the time to read this article. See you in our next article!