Celebrate Independence Day with a Festive July 4th Craft Gnome
Related Articles: Celebrate Independence Day with a Festive July 4th Craft Gnome
- July 4th Becomes A National Holiday In 2024: A Historical Perspective
- Jokes About 4th Of July Presidents 2024
- Celebrate The 4th Of July Weekend With Stunning Images In 2024
- Fourth Of July 5K Virtual Run/Walk 2024
- July 4th Clipart Patriotic 2024: A Symbol Of National Pride And Unity
Introduction
With great pleasure, we will explore the intriguing topic related to Celebrate Independence Day with a Festive July 4th Craft Gnome. Let’s weave interesting information and offer fresh perspectives to the readers.
Table of Content
Video about Celebrate Independence Day with a Festive July 4th Craft Gnome
Celebrate Independence Day with a Festive July 4th Craft Gnome

Introduction:
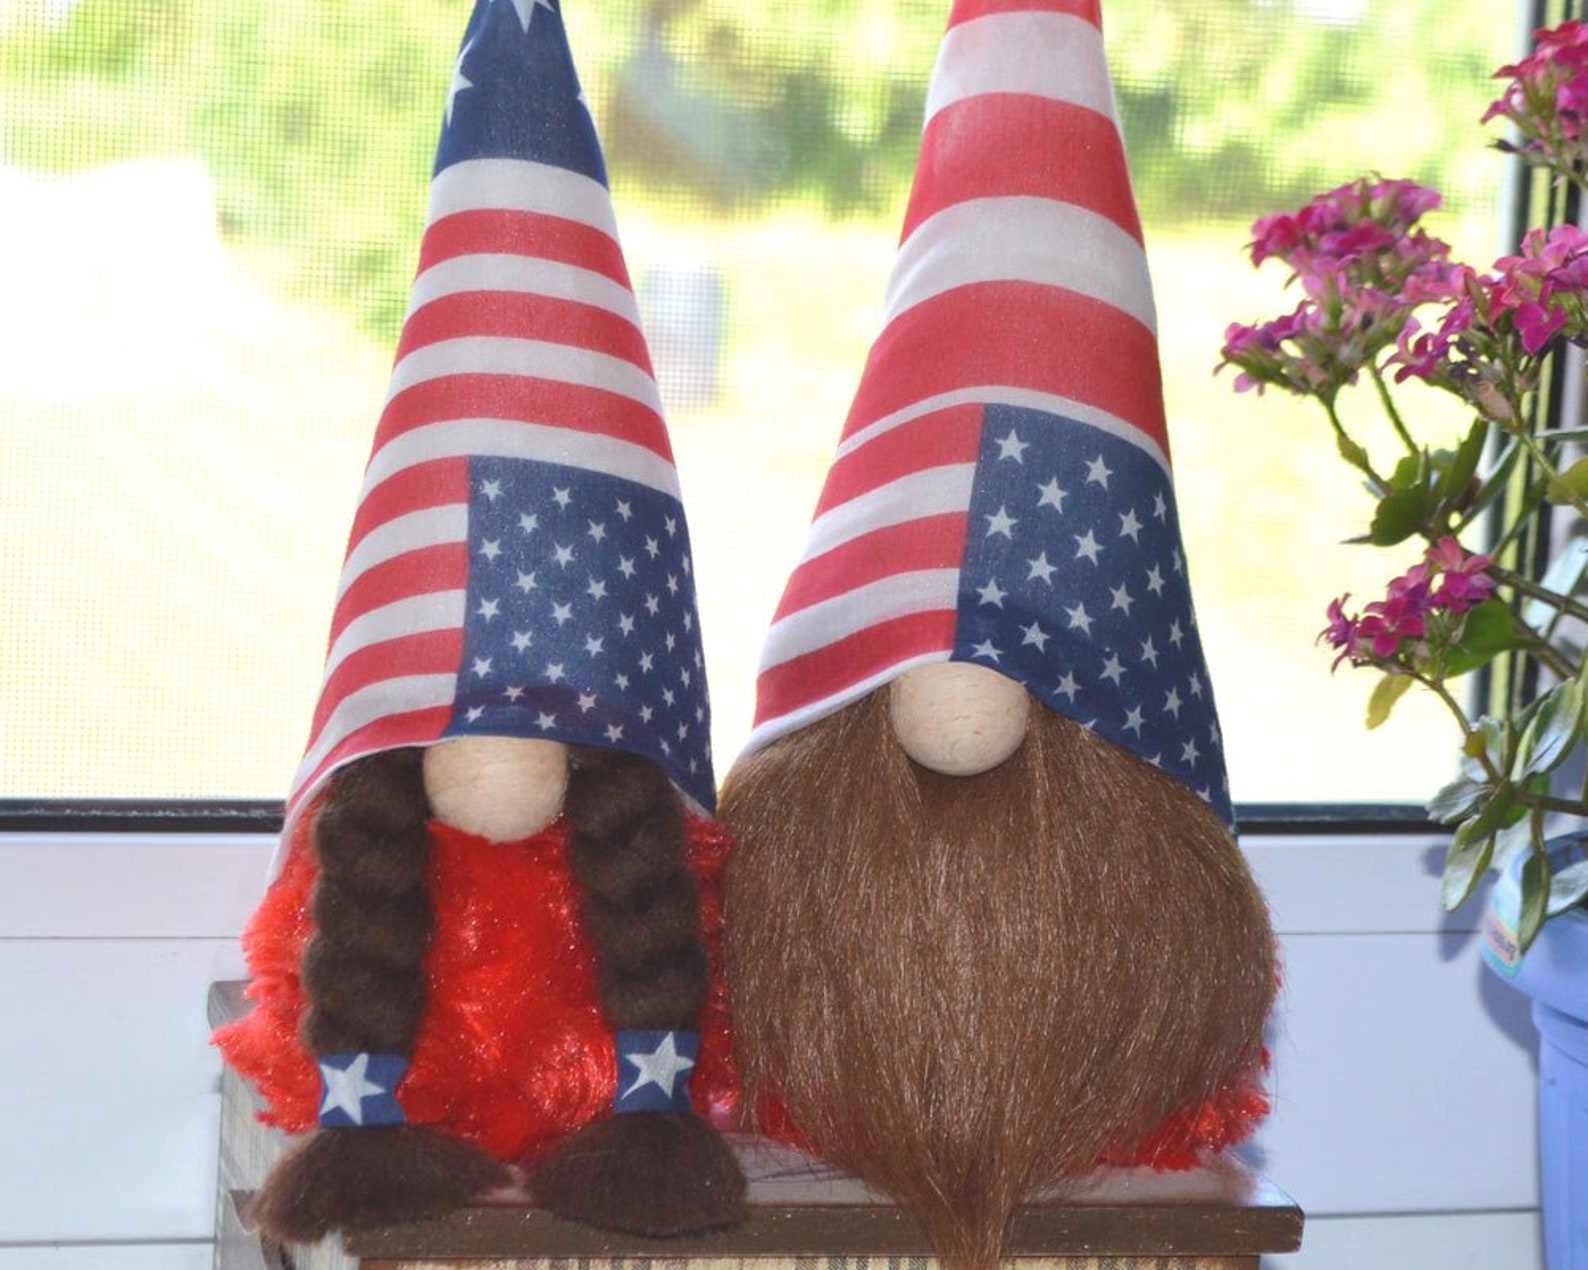
As the Fourth of July approaches, it’s time to get crafty and celebrate the spirit of independence. Gnomes, those whimsical creatures of folklore, have become a popular symbol of good luck and prosperity. This article presents a comprehensive guide to crafting a unique July 4th gnome that will add a touch of patriotism and cheer to your Independence Day festivities.
Materials:
- White felt (for the gnome’s body)
- Red felt (for the gnome’s hat)
- Blue felt (for the gnome’s vest)
- White yarn (for the gnome’s beard)
- Red yarn (for the gnome’s nose)
- Black felt (for the gnome’s eyes and mouth)
- Glue gun
- Scissors
- Poly-fil stuffing
- Embellishments (such as stars, stripes, or American flag patches)
Instructions:
Step 1: Create the Gnome’s Body
- Cut out a 4-inch circle from the white felt. This will form the gnome’s body.
- Fold the circle in half and glue the edges together, leaving a small opening at the bottom.
- Fill the body with poly-fil stuffing and close the opening.
Step 2: Make the Gnome’s Hat
- Cut out a 3-inch square from the red felt.
- Fold the square in half diagonally and glue the edges together, forming a cone shape.
- Leave a small opening at the top of the cone.
- Glue the hat to the top of the gnome’s body.
Step 3: Craft the Gnome’s Vest
- Cut out a 1.5-inch by 2-inch rectangle from the blue felt.
- Fold the rectangle in half and glue the edges together, leaving a small opening at the top.
- Glue the vest to the front of the gnome’s body, just below the hat.
Step 4: Add the Gnome’s Beard
- Cut several strands of white yarn, each about 4 inches long.
- Glue the ends of the yarn strands to the bottom of the gnome’s body, under the vest.
- Trim the beard to your desired length.
Step 5: Create the Gnome’s Nose
- Cut out a small circle from the red yarn.
- Glue the circle to the center of the gnome’s body, just above the beard.
Step 6: Embellish the Gnome
- Use black felt to cut out small circles for the gnome’s eyes and a crescent shape for the mouth.
- Glue the eyes and mouth to the gnome’s face.
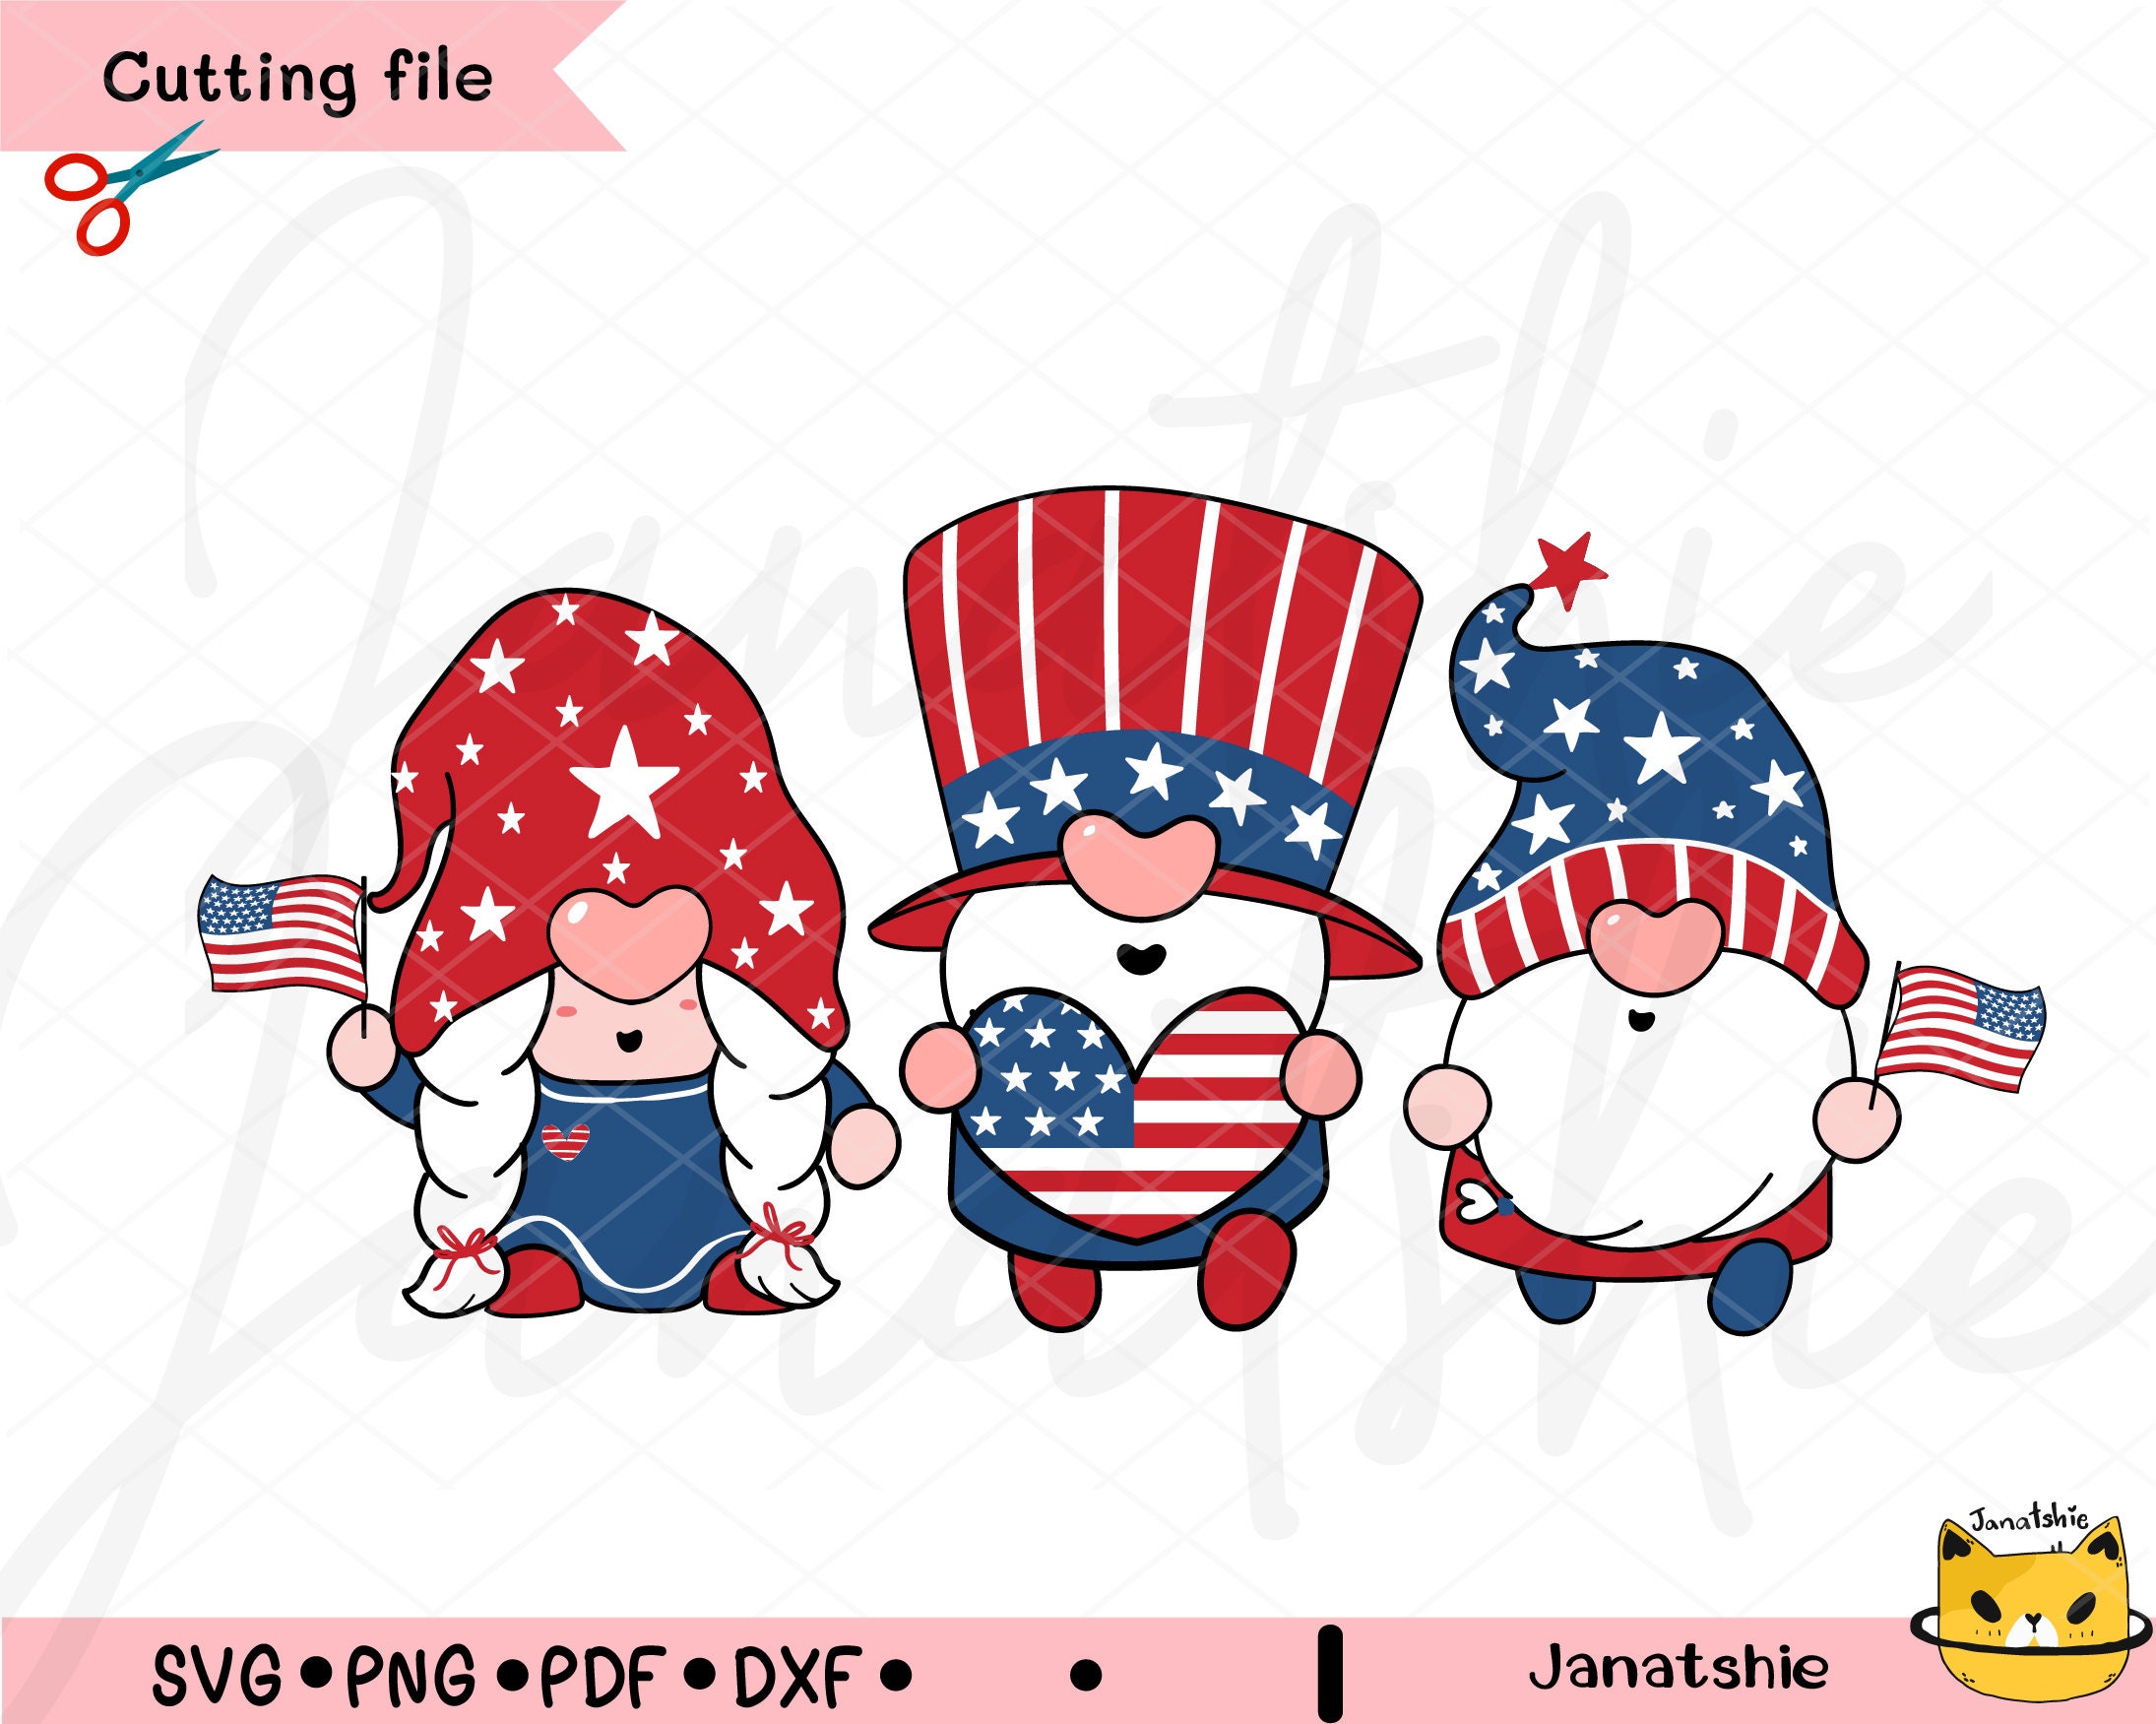
- Add embellishments, such as stars, stripes, or American flag patches, to the gnome’s hat, vest, or beard.
Tips:
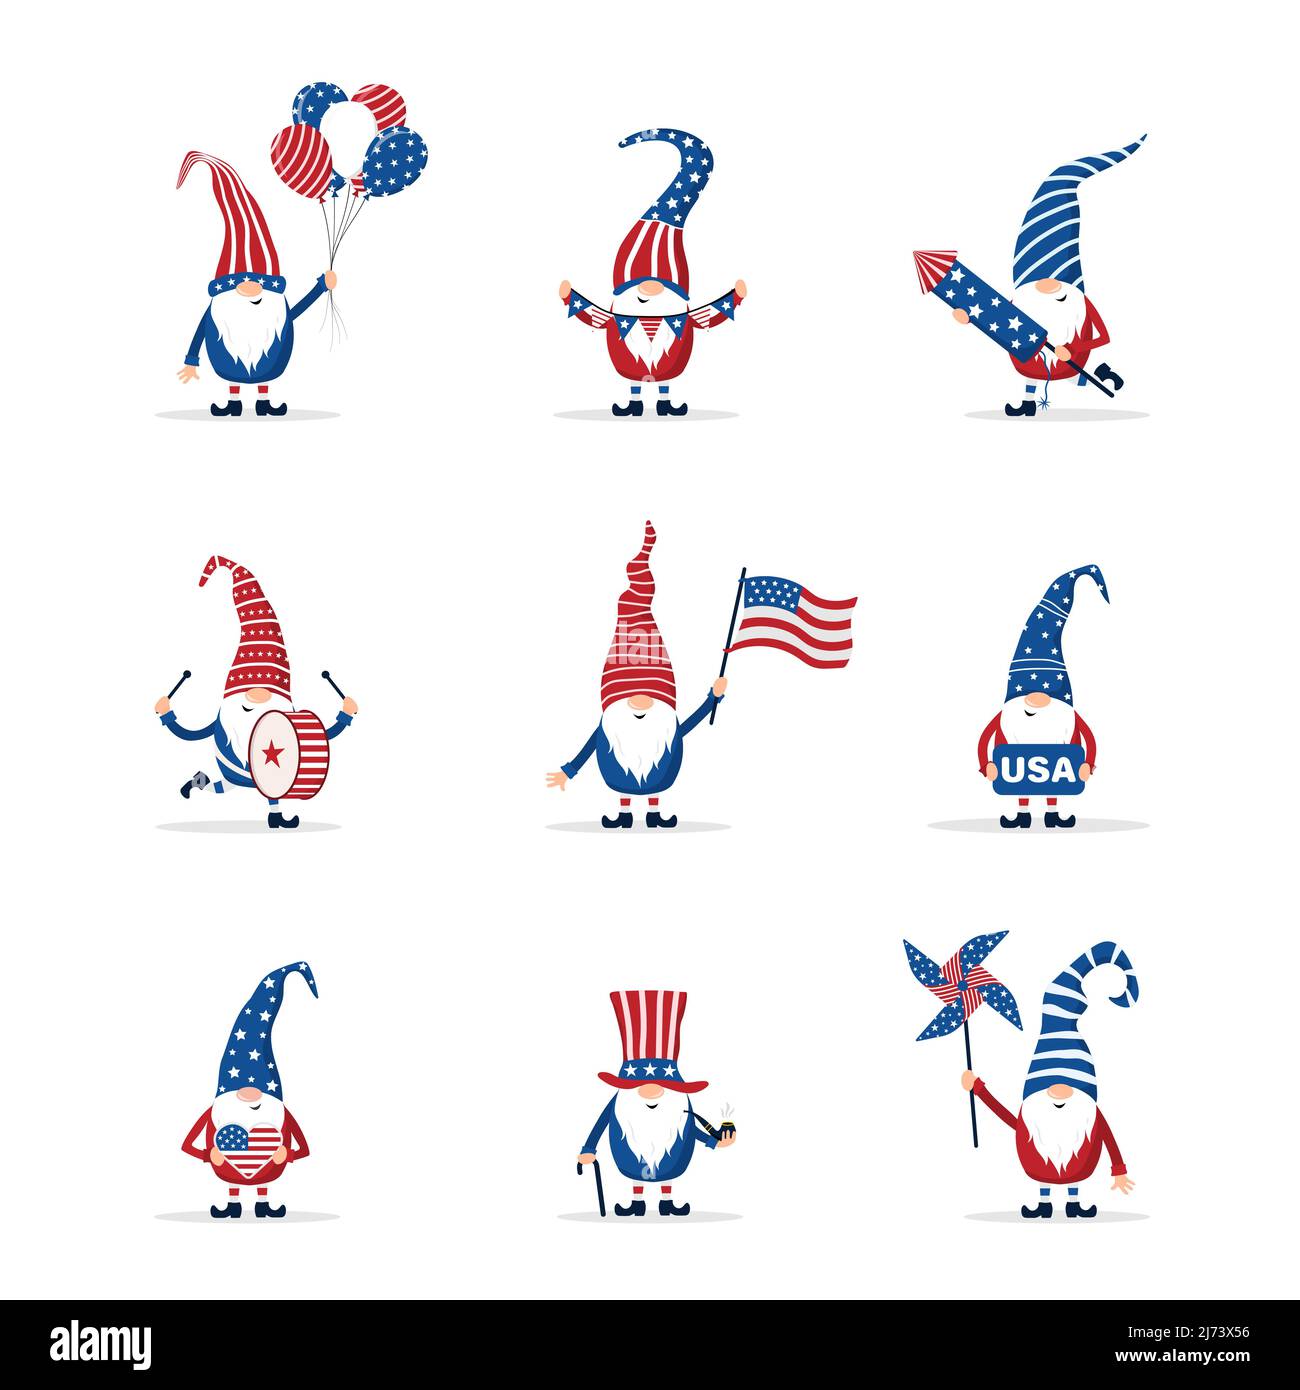
- For a more personalized touch, you can use different colors of felt or yarn to create a gnome that reflects your unique style.
- To make the gnome more stable, you can add a weighted base to the bottom of the body.
- You can also use different materials for the gnome’s beard, such as faux fur or fabric scraps.
- Be creative and have fun with your July 4th gnome craft. The possibilities are endless!
Conclusion:
This festive July 4th gnome craft is a perfect way to celebrate Independence Day with a touch of whimsy and patriotism. Whether you display it in your home, gift it to a loved one, or use it as a decoration for a party, this adorable gnome will bring joy and good luck to all who encounter it. So gather your materials and get ready to craft a memorable July 4th keepsake that will be cherished for years to come.


Closure
Thus, we hope this article has provided valuable insights into Celebrate Independence Day with a Festive July 4th Craft Gnome. We hope you find this article informative and beneficial. See you in our next article!